A few months into owning the final project car, and wouldn’t you know it, it’s been in the garage for a good part of it. Yeah, yeah, line your jokes up. Nothing too major, but let’s be real and honest about what is going on with this car: I want drivability, I want to make sure that I have knowledge of what’s going on underhood, and I want to make sure that everything is safe when I’m cruising down the road. That last point was driven home recently…I recently spotted a 1976 Dodge Coronet two-door that I had briefly looked at last year on Marketplace while hunting for a car on a Copart.com auction. While I was not a fan of the peanut-butter brown and grape jelly purple paint job, the body was nice and the interior was at least passable…well, before the gauge fire, anyways. Yeah, there was no mistaking where the fire originated. Right about where the alt gauge sits, was the deepest burn pit, one that extended outwards both ways, up into the windshield, and dripped molten plastic down to the carpet. If that car still exists in any form at this point, it’s a peanut butter and jelly pancake on the way to the shredder.
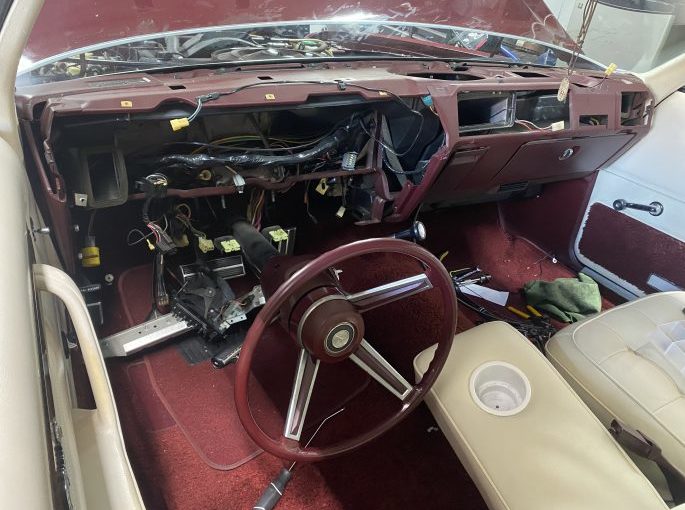
Knowing that my gauges were funky to begin with, and knowing that the RTE voltage limiter I installed last time didn’t really do anything, I had to bite the bullet and pull the whole cluster out to see what was what. I wanted to bench-test the entire printed panel to eliminate breaks. I wanted to do power-on tests to make sure that only five volts were going to the electrically-driven gauges. I wanted to make sure that any ground for the cluster was solid, clean and heavy enough to do the job. And…well, I wanted to convert the cluster to LED lights. After seeing the improvement that a simple bulb change did in the Great Pumpkin Mustang, I’m a believer. And since gauge lights did work prior to this mess, I knew that they were inadequate…like a green chem-light that was a day old, still glowing, if only just.
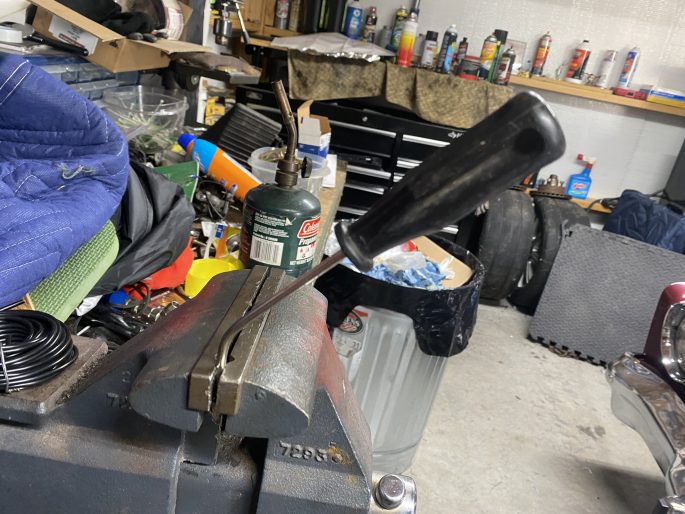
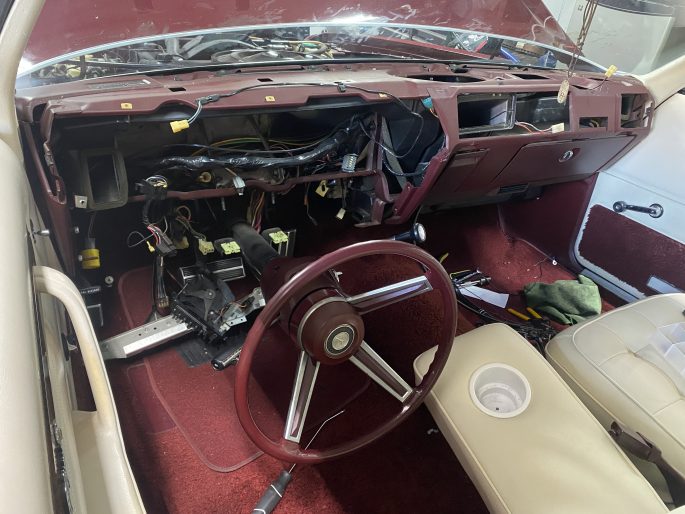
Pulling the cluster out was actually pretty easy. Removing the dash pad to do it, however, was a bitch and a half. I recently had someone tell me, “Working on a Chrysler product is easy, except for that last f*cking bolt.” They were not wrong. The four top screws that go in where the defroster ducts are at? Yeah, thanks, Satan. I had to heat up and bend the shit out of a cheap screwdriver so I could extract those.
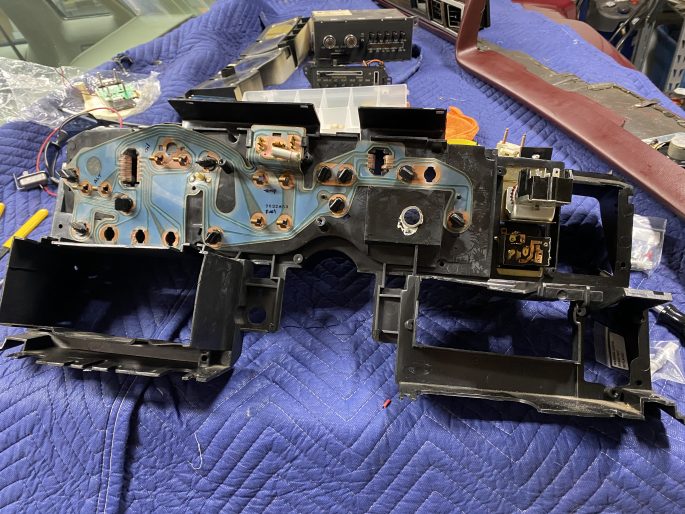 It must be said…I am still very shocked at the condition of every last electrical connector on this car. There isn’t so much as a broken lock tab in this harness, not anywhere. And no, I didn’t break the first one. After yanking the seat out so I didn’t have to do any more automotive yoga than necessary, I got the whole cluster unit out with very little drama. Ringing out the cluster with a multimeter ruled out any breaks in the pattern…the printed circuit panel is good. Sweet, that’s one load off of my mind. The next step was to check continuity between the gauge power blocks (the 6-point and 12-point connectors that plug into the circuit panel) and the bulkhead connector at the firewall. Again, good. I traced the path to the sensors, with no fault. I studied the factory electrical service manual up and down, I drew my own schematics to double-check my work. I can tell you the names of connectors, like CI-7 (the connector for the seat belt buzzer) off of the top of my head. Everything checked out.
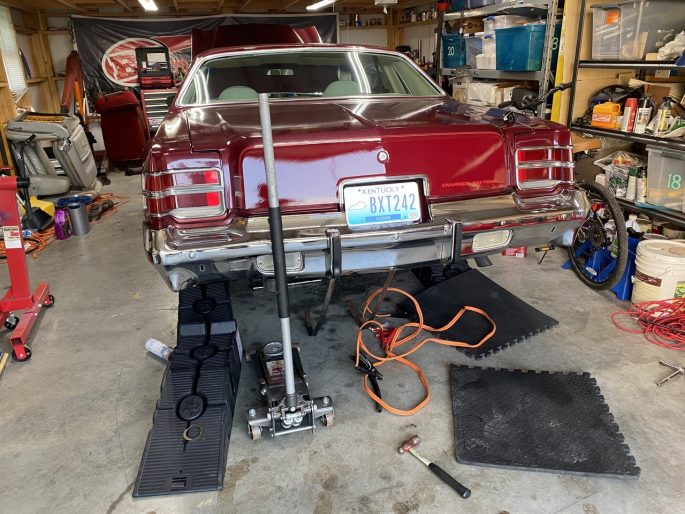
So, a ground issue is the culprit. I redoubled my efforts at the voltage limiter. Previously, I proved on a bench test that all of the gauges function properly when external power is applied. So the gauges work, the electrical connections are good…that leaves the gauge cluster ground, but upon the last fully assembled power-on test in the car, the fuel gauge came back to life (yay!), the temperature gauge shot straight to “hot” with the engine off and cold (that’s not good…), the alternator gauge didn’t do squat and at this point, the battery was too tired to try to start the 360. And that’s where we stop for now…because the cluster is back out for a power-on check on the bench and the car is being started and ran to get the battery back up to good. Between you and me, reader, paying Dakota Digital to cure this mess is looking lovelier and lovelier by the second. It might not be the proper BangShift way, but at least their stuff works, looks OE, and has a warranty.
Now, about that fuel tank. Follow along and I’ll explain what’s going on here:
Getting the tank down on the Charger is simple: two nuts hold the straps, undo the vent line and the fuel line, pop off the sending unit and the stupid little grounding clip that doesn’t do anything, separate the fill tube from the main tank, and remove. Oh, and be sure to drain the tank fully first. I thought I had run the tank to 1/4 full. Oh, how wrong I was. This barge had 17 GALLONS still left in the tank after a week of romping on it. And I wore about half of one gallon when it spilled all over the shop floor.
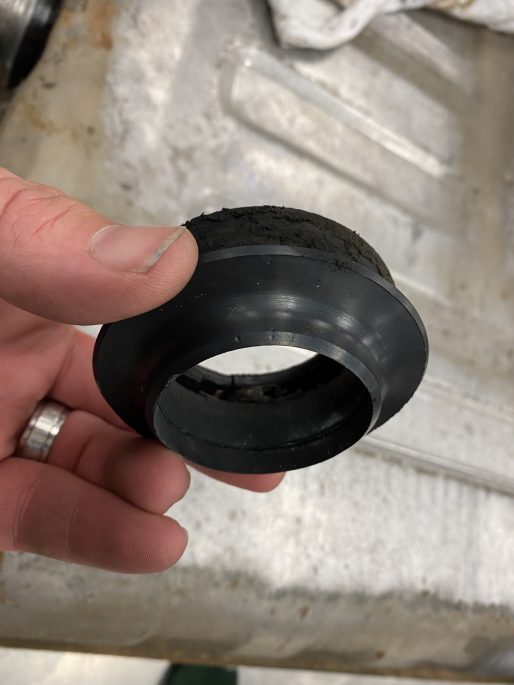
This is the original fill tube grommet, the rubber piece that keeps the tube and fuel in the tank. This is what was inside the tank. Doesn’t look bad at all, right?
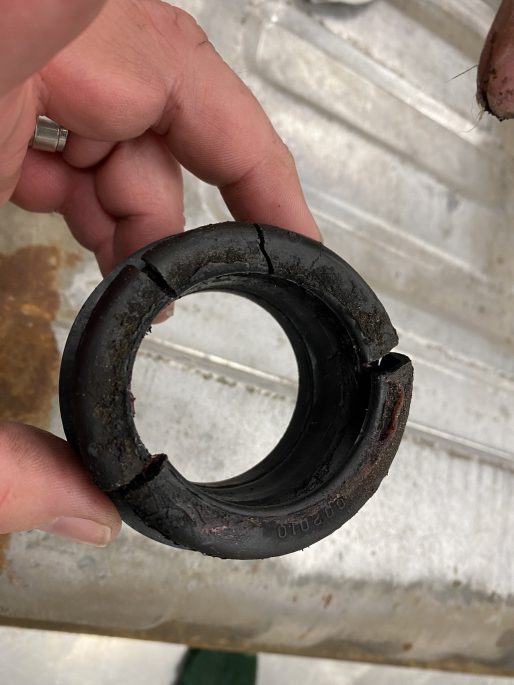
Here’s the other side. That’s not just forty-something years of elements…inside there was traces of red bearing grease. Somebody has messed with this before and used the wrong lube on the o-ring. Don’t use grease! Use a proper lubricant. And stop snickering, you pervs.
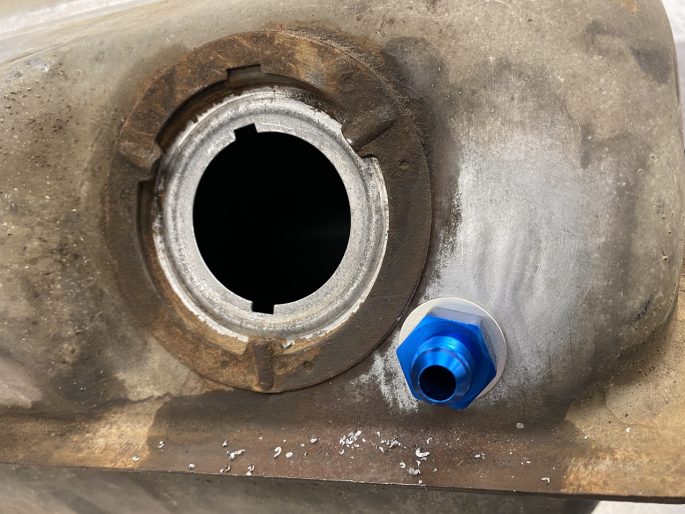
Yes, that’s a return port.
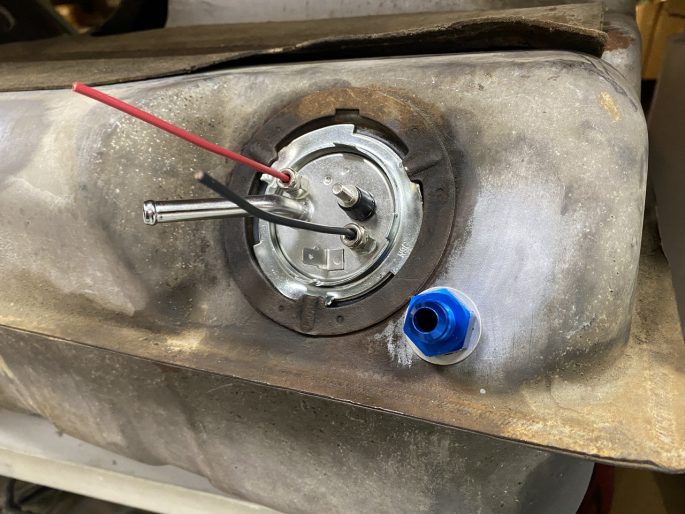
Yes, that’s two more wires than there should be. And look, Ma, a real ground stud for a real ground! Maybe now I’ll actually know what’s in the tank besides hopes and dreams (and half my paycheck).
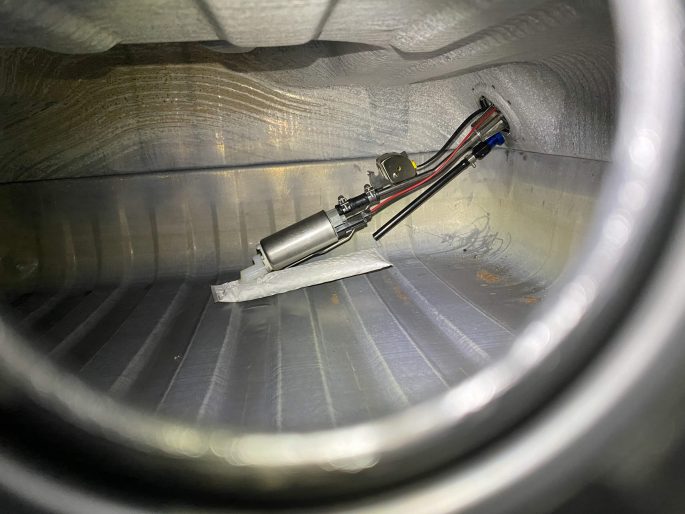
The short story: that’s Holley’s new 350LPH fuel pump, like you are able to get on a Muscle Car EFI Pump Module, fitted to a replacement fuel sending unit, with a Hydramat pick-up and a return line. What’s next? Be patient.
Missed an update on this car?
Part 1: Introduction
Part 2: Assessment
Part 3: Trunk Paint Repair and Instrument Cluster Voltage Limiter
For GREAT deals on a new or used Chevrolet check out
Tom Bell Chevrolet TODAY!